Drawn using Gemini by giving the architecture design plan.
-
-
1. Download Ollama from https://ollama.com/download 2. To download and run the model, use the command: ollama run qwen2.5:72b 3. Once model download is completed, just type your prompts! Meanwhile, my poor GPU Next, here is a bonus. Access the model from a LangChain python script. Your Ollama service is already running at http://localhost:11434/ Install dependencies: pip install langchain-ollama Create a test_client.py program: from langchain_ollama import ChatOllama from langchain_core.prompts import ChatPromptTemplate from langchain_core.output_parsers import StrOutputParser import time # 1. Configuration # We use the specific model tag you pulled in Ollama MODEL_TAG = “qwen2.5:72b” print(f”— Connecting to Local Ollama ({MODEL_TAG}) —“)…
-
Just published my new tutorial on Medium: Full Stack Architecture Tutorial with Python, SQLModel, Strawberry, GraphQL and FastAPIRead: https://ninethsense.medium.com/one-small-full-stack-architecture-tutorial-with-python-sqlmodel-strawberry-graphql-and-fastapi-9de975c54465?sk=3c5f75201ee8486b23280f7fdc5ec67b
-
The modern software architect is often bottlenecked not by a lack of knowledge, but by the sheer volume of context they must maintain. Scalability constraints, compliance guardrails, cloud service limits, and legacy entanglements create a cognitive burden that makes pure design difficult. Read my new article on – How AI is redefining the Application Architecture Design process – https://www.linkedin.com/pulse/how-ai-redefining-system-design-process-praveen-zohtc
-
Navigating the fast-evolving world of LLMs requires more than just innovation, it demands discipline. In my latest piece, A Sanity Guide to Version Control for LLMs, I break down practical strategies to bring order, traceability, and confidence to AI development workflows. From managing model iterations to ensuring reproducibility, this guide offers a structured approach to keep experimentation aligned with enterprise needs. Read my full article here – https://www.linkedin.com/pulse/sanity-guide-version-control-llms-praveen-nair-pmp-architect-irpgc/
-
Read my latest article on agentic AI adoption in Platform Engineering on Medium. https://ninethsense1.medium.com/platform-engineering-2-0-the-rise-of-ai-native-devops-5b6c9510decc?sk=eadef43fd8cf604c21105ff055d9aead We spent years asking developers to care about infrastructure, aka follow the DevOps culture. AI-Native Platform Engineering now effectively says, “Actually, forget it. The AI handles the infrastructure now! You just focus on code”
-
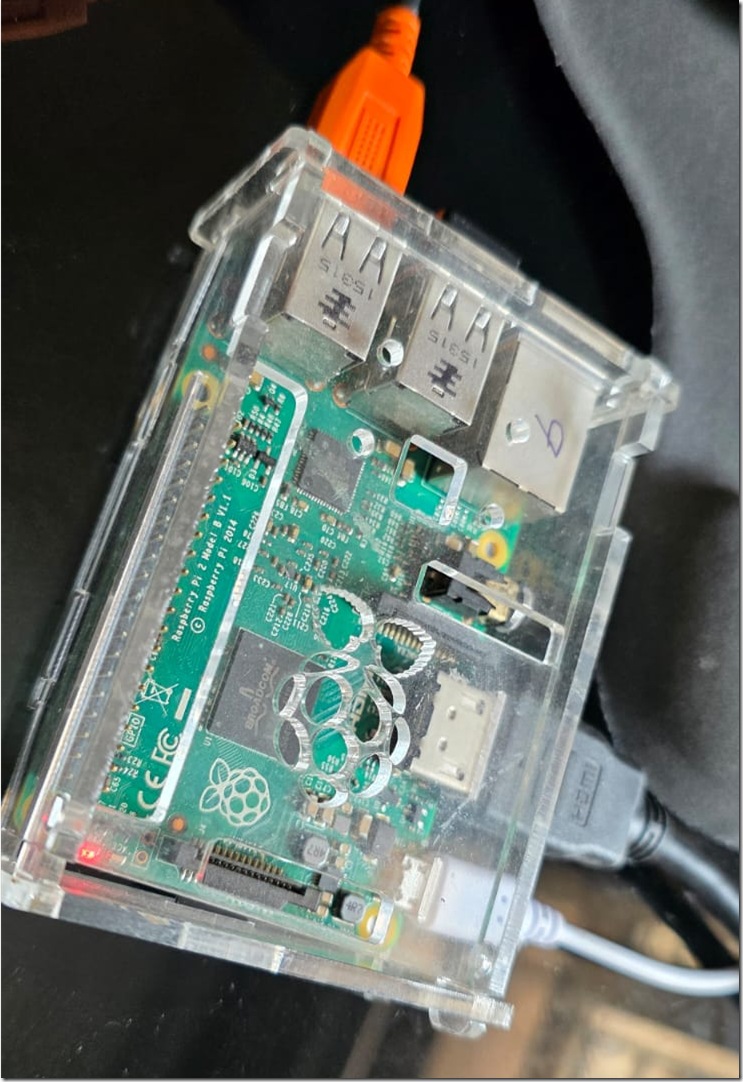
This article is a write up of my experience on hosting Qwen 2.5 the 0.5B model in Raspberry Pi 2 using Llama.cpp. Qwen 2.5 is one of the small SLM with 0.5B parameters so a small development board like Raspberry Pi can hold it. RPi 2 Model B comes with 900Mhz speed and only 1GB of memory. But to be honest, setting up the project might take 1-2 hours, and the prompt execution is only some 1-2 tokens per second. So you need to be patient. Let us begin! Step 0: Pick up the Raspberry Pi 2 from the attic.…
-
Over the weekend, I was trying do a learning project using Microsoft’s latest Microsoft Fara-7B model, which is a “Computer Use Agent”. Microsoft Fara-7B is a small, efficient, open-weight AI model (with 7 billion parameters) designed to act as a Computer Use Agent (CUA), allowing it to perform tasks on a computer by visually understanding the screen (aka screenshots) and using mouse/keyboard actions (clicks, typing, scrolling) to automate web tasks like booking travel, shopping, or filling forms, offering speed, privacy (runs locally on devices), and lower cost compared to larger models. Currently the model is still in experimental mode, and…
-
-
Takeaways Read the Whitepaper here: https://www.linkedin.com/posts/ninethsense_the-deterministic-ai-agent-a-dual-brain-activity-7402527472975568896-xW1k?utm_source=share&utm_medium=member_desktop&rcm=ACoAAAEqPm8Bief48CxwsnTrzIyprD5rdLx_zjU

